Oiling Processes
Welcome to our comprehensive guide on oiling processes for wood finishing! In this article, you will learn about various oil types, their applications, and even some tips to achieve that perfect finish. Whether you're a DIY enthusiast or a professional woodworker, understanding oiling techniques will greatly enhance the beauty and longevity of your wooden projects.
Key Takeaways
- Oiling enhances the wood's natural beauty and protects it from moisture.
- Different oils have unique properties that cater to various finishing needs.
- The application process involves thorough preparation and care.
- Regular maintenance is crucial for the longevity of oiled finishes.
Understanding the Oiling Process
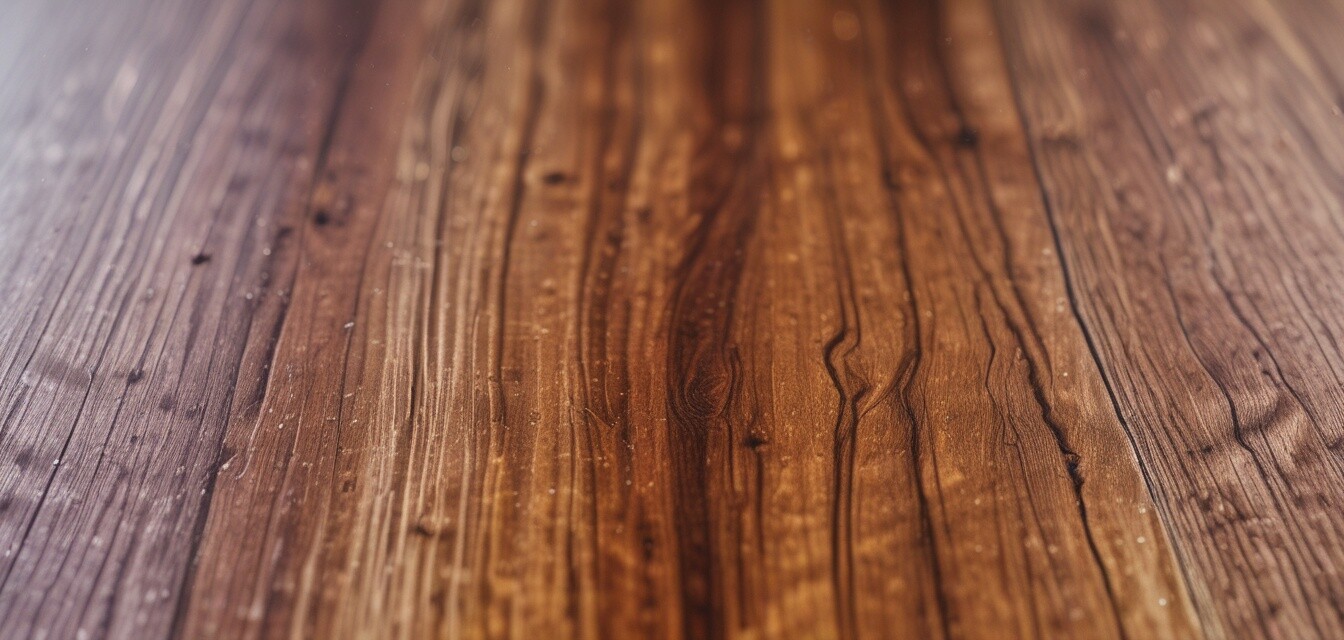
The oiling process involves applying oil to wood surfaces, allowing it to penetrate and provide protection while enhancing the wood's natural characteristics. The choice of oil and application technique can significantly influence the final appearance and durability of the finish.
Why Use Oil Finish?
An oil finish offers several advantages over other wood finishing methods, including:
- Preservation of natural texture and grain
- Easy application and maintenance
- Water-resistant properties
- Ability to be repaired easily
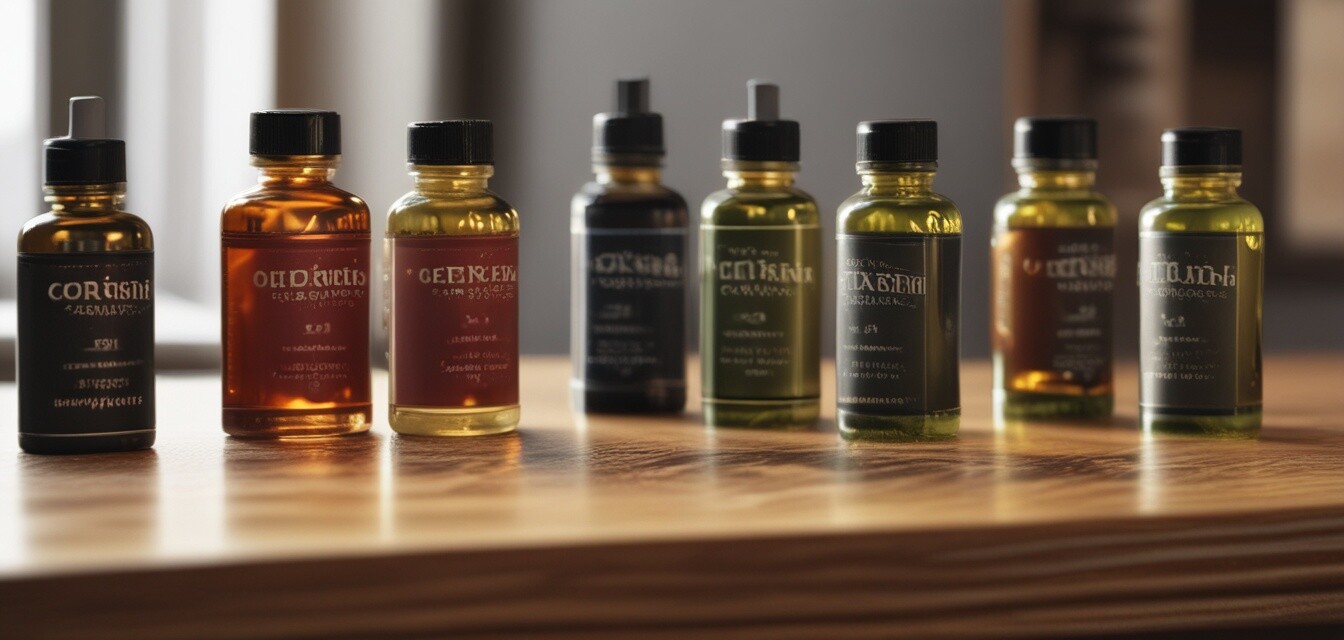
Types of Oils for Wood Finishing
Various oils are used in wood finishing, and each has its unique characteristics. Here's a comparison of some popular options:
| Oil Type | Characteristics | Best Used On |
|---|---|---|
| Linseed Oil | Rich color, deep penetration, dries slowly | Furniture, cabinetry |
| Tung Oil | Water-resistant, hard finish, enhances grain | Outdoor applications, high-use surfaces |
| Walnut Oil | Non-toxic, food-safe, enhances warm color | Cutting boards, kitchen items |
| Teak Oil | Contains UV blockers, ideal for outdoor use | Patio furniture, boats |
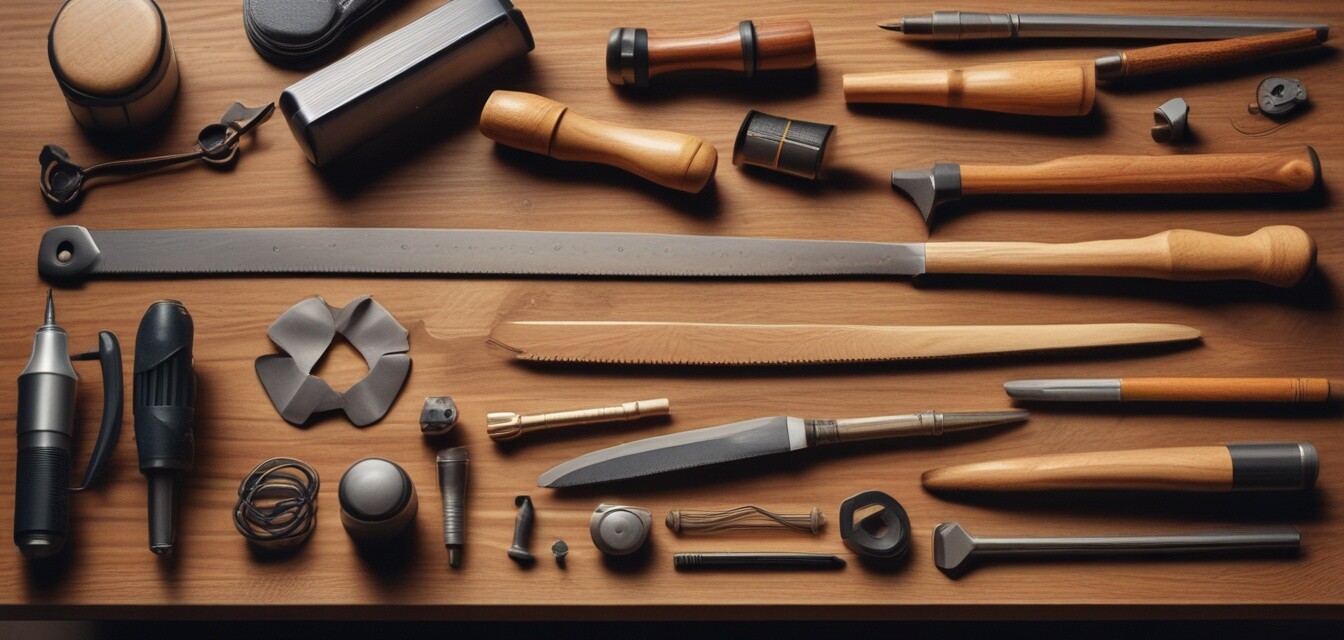
How to Apply Oil Finishes
Applying oil finishes is relatively straightforward. Follow these steps to ensure a smooth application:
- Prepare the Surface: Ensure the wood surface is clean and smooth. Sand if necessary.
- Choose Your Oil: Select an oil suitable for your project and desired finish.
- Application:
- Use a clean cloth or brush to apply the oil generously.
- Allow the oil to soak into the wood for a few minutes.
- Wipe off any excess oil with a clean cloth.
- Drying Time: Let it dry completely, usually 24 hours, before applying additional coats.
Finishing Touches
After the initial coats have dried, assess the finish and determine if more layers are needed. Generally, applying 2-3 coats of oil can significantly enhance the protection and beauty of the wood.
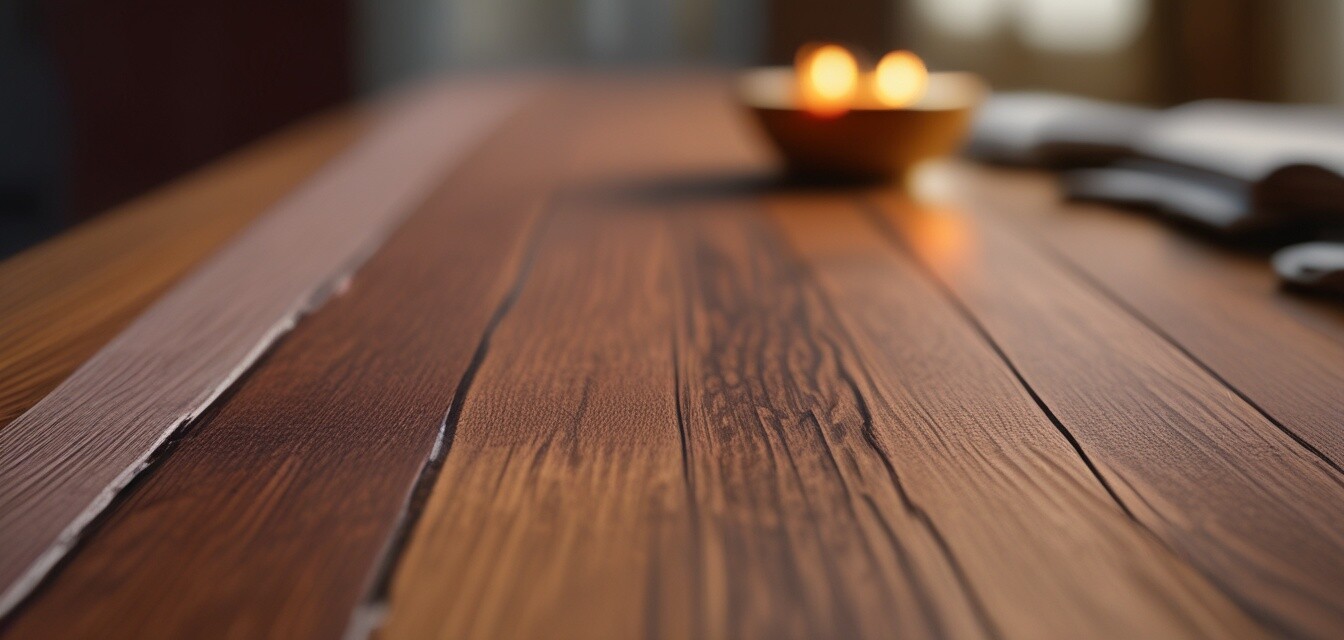
Maintenance of Oiled Wood
To keep your oiled wood looking its best, regular maintenance is necessary. Here are some tips:
- Clean surfaces with a damp cloth to remove dust and dirt.
- Apply a fresh coat of oil as needed, typically every 6-12 months.
- Avoid using harsh chemicals or cleaning agents that can strip the finish.
Common Mistakes to Avoid
Certain pitfalls can hinder the success of oiling processes. Here are some common mistakes to steer clear of:
- Skipping surface preparation - always sand and clean the wood first.
- Applying too much oil - follow the recommended amounts to prevent a sticky finish.
- Neglecting to wipe off excess oil - this is crucial to avoid a tacky surface.
- Rushing the drying process - allow sufficient time for each coat to cure properly.
Tips for Beginners
If you're new to oiling wood, here are some helpful tips to achieve great results:
- Start with small projects to practice your technique.
- Experiment with different types of oil to see what works best for your needs.
- Keep a record of the process, noting what methods and products you used and results.
- Consult tutorials and guides, like our Protective Coatings page for more information.
Conclusion
The oiling process is a fantastic way to enhance and protect your wood projects. By understanding the various types of oils available and applying them correctly, you can achieve beautiful, professional-looking finishes. Always remember that regular maintenance is key to preserving the wood's appearance and durability.
For more tips and products to aid your wood finishing journey, check out our other pages on Sanding Tools, Varnishes and Sealers, and Wood Conditioners.