Wood Surface Preparation
Key Takeaways
- Surface preparation is crucial for achieving a smooth finish.
- Sanding, cleaning, and conditioning are key steps.
- Using the right tools ensures better results.
- Proper preparation prevents future issues with adhesion and durability.
- Each wood type may require a unique approach for optimal results.
Understanding the importance of wood surface preparation is essential for anyone looking to optimize their finishing work. Whether you are a hobbyist or a professional, the steps you take before applying stains, varnishes, or oils can make a significant difference in the final appearance of your project. This article will guide you through the necessary steps to prepare wood surfaces effectively.
Understand the Need for Surface Preparation
Surface preparation serves several vital purposes that contribute to the quality of wood finishing. To ensure a successful process, keep these key points in mind:
- Improves Adhesion: Properly prepared surfaces allow finishes to bond effectively, resulting in better durability.
- Enhances Appearance: A smooth surface leads to a more visually appealing finish.
- Prevents Issues: Surface preparation helps prevent other issues such as peeling, bubbling, or discoloration.
Steps for Effective Surface Preparation
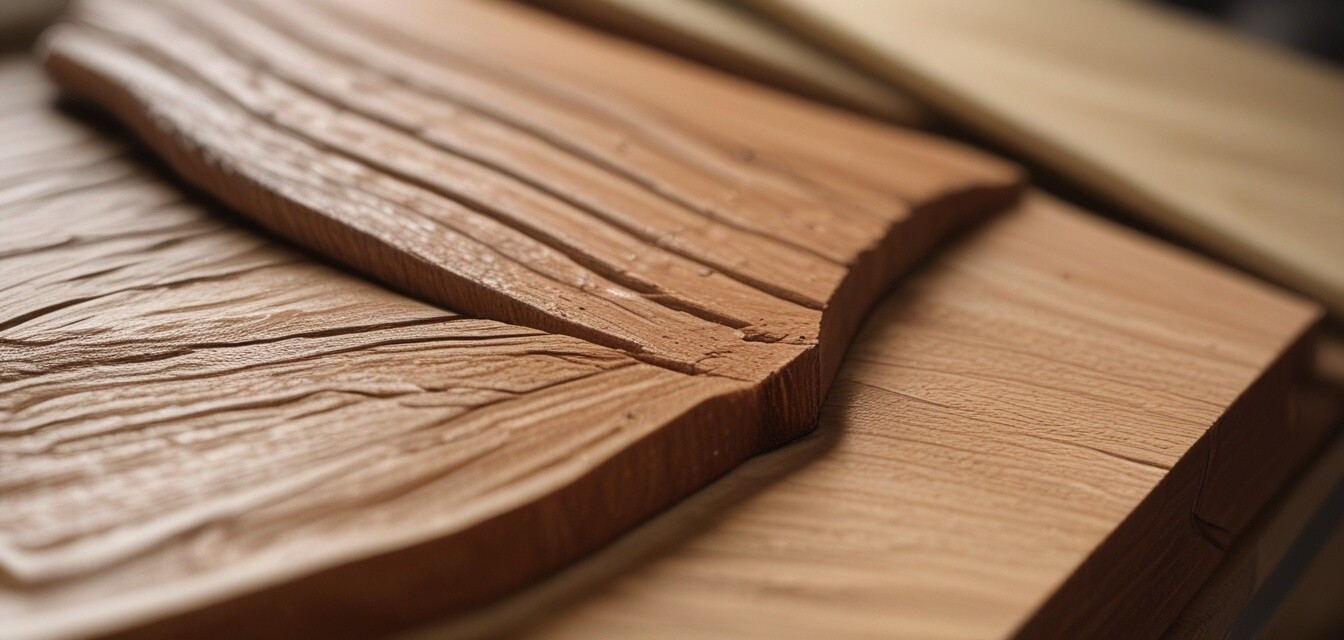
Sanding
Sanding is a crucial step in surface preparation. It smooths the wood and opens up the wood grain for finishing. Here’s how to do it:
- Select the appropriate grit sandpaper for your project:
| Grit Size | Use Case |
|---|---|
| 60-80 | Initial sanding of rough surfaces |
| 120-150 | Intermediate sanding |
| 220 | Final sanding before finishing |
Use the following technique for sanding:
- Start with a lower grit sandpaper and work your way up to a higher grit.
- Sand in the direction of the wood grain to avoid scratching.
- Ensure that the surface is even and smooth before moving to the next grit.
Cleaning
After sanding, cleaning the surface is essential to remove dust and debris that could affect the finish.
- Tools for Cleaning:
- Vacuum
- Brush
- Damp cloth
Follow these steps for effective cleaning:
- Vacuum the sanded surface to remove dust particles.
- Use a soft brush to get into crevices.
- Wipe the surface with a damp cloth to eliminate any remaining dust.
Conditioning the Wood
Wood conditioners can be applied to prepare the surface further, especially for softwoods. This step is optional but beneficial.
- Conditions help stain or finish to absorb evenly, avoiding blotches.
- Follow the manufacturer’s instructions for application.
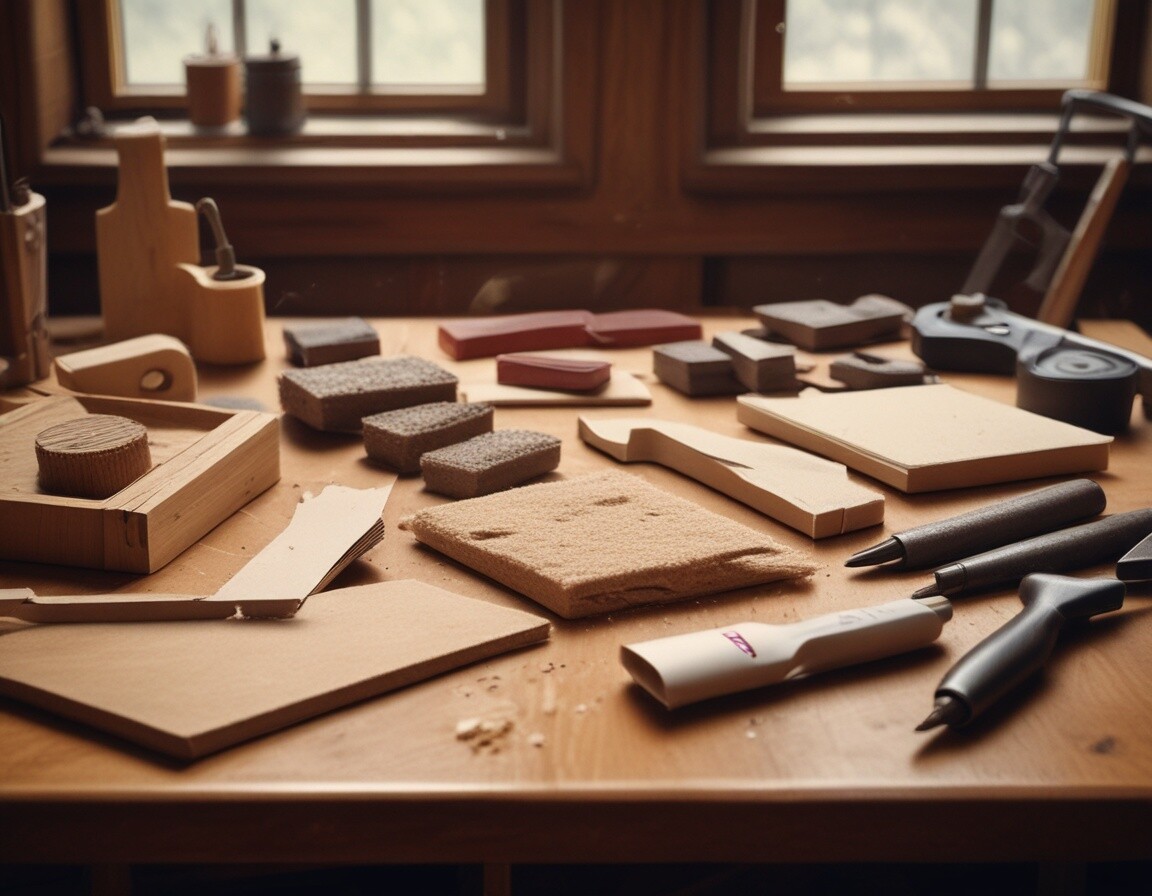
Tools You Will Need
| Tool | Purpose |
|---|---|
| Sanding block or sander | For smoothing the surface |
| Vacuum | To clear dust |
| Brush | To reach small areas |
| Damp cloth | Final cleaning before finishing |
| Wood conditioner (optional) | To prepare particularly absorbent woods |
Common Mistakes in Surface Preparation
Without proper attention to detail, mistakes can happen. Here are some common pitfalls to avoid:
- Skipping grit sizes during sanding.
- Neglecting to clean the surface post-sanding.
- Over-saturating the wood with conditioners or finishes.
Pros
- Achieves a professional-looking finish.
- Extends the lifespan of the finish.
- Increases the value of completed projects.
Cons
- Takes additional time before applying finishes.
- Requires specific tools that may not be readily available.
Conclusion
Effective wood surface preparation is a fundamental skill that will set your projects apart. By adhering to the outlined steps, you can ensure a smooth and durable finish, enhancing the beauty and longevity of your work. Remember the tools and tips presented in this article, and you will be well on your way to crafting better wood finishes.
For further tips on enhancing your woodworking skills, check out the following articles: